Tutorial: Segmentation Workflow
This hands-on tutorial walks through a complete segmentation workflow using MouseMaster to streamline your mouse button mappings.
Prerequisites
3D Slicer installed with MouseMaster extension
A multi-button mouse (this tutorial uses the Logitech MX Master 3S)
Step 1: Load Sample Data
Load MRHead from Sample Data module for segmentation practice.
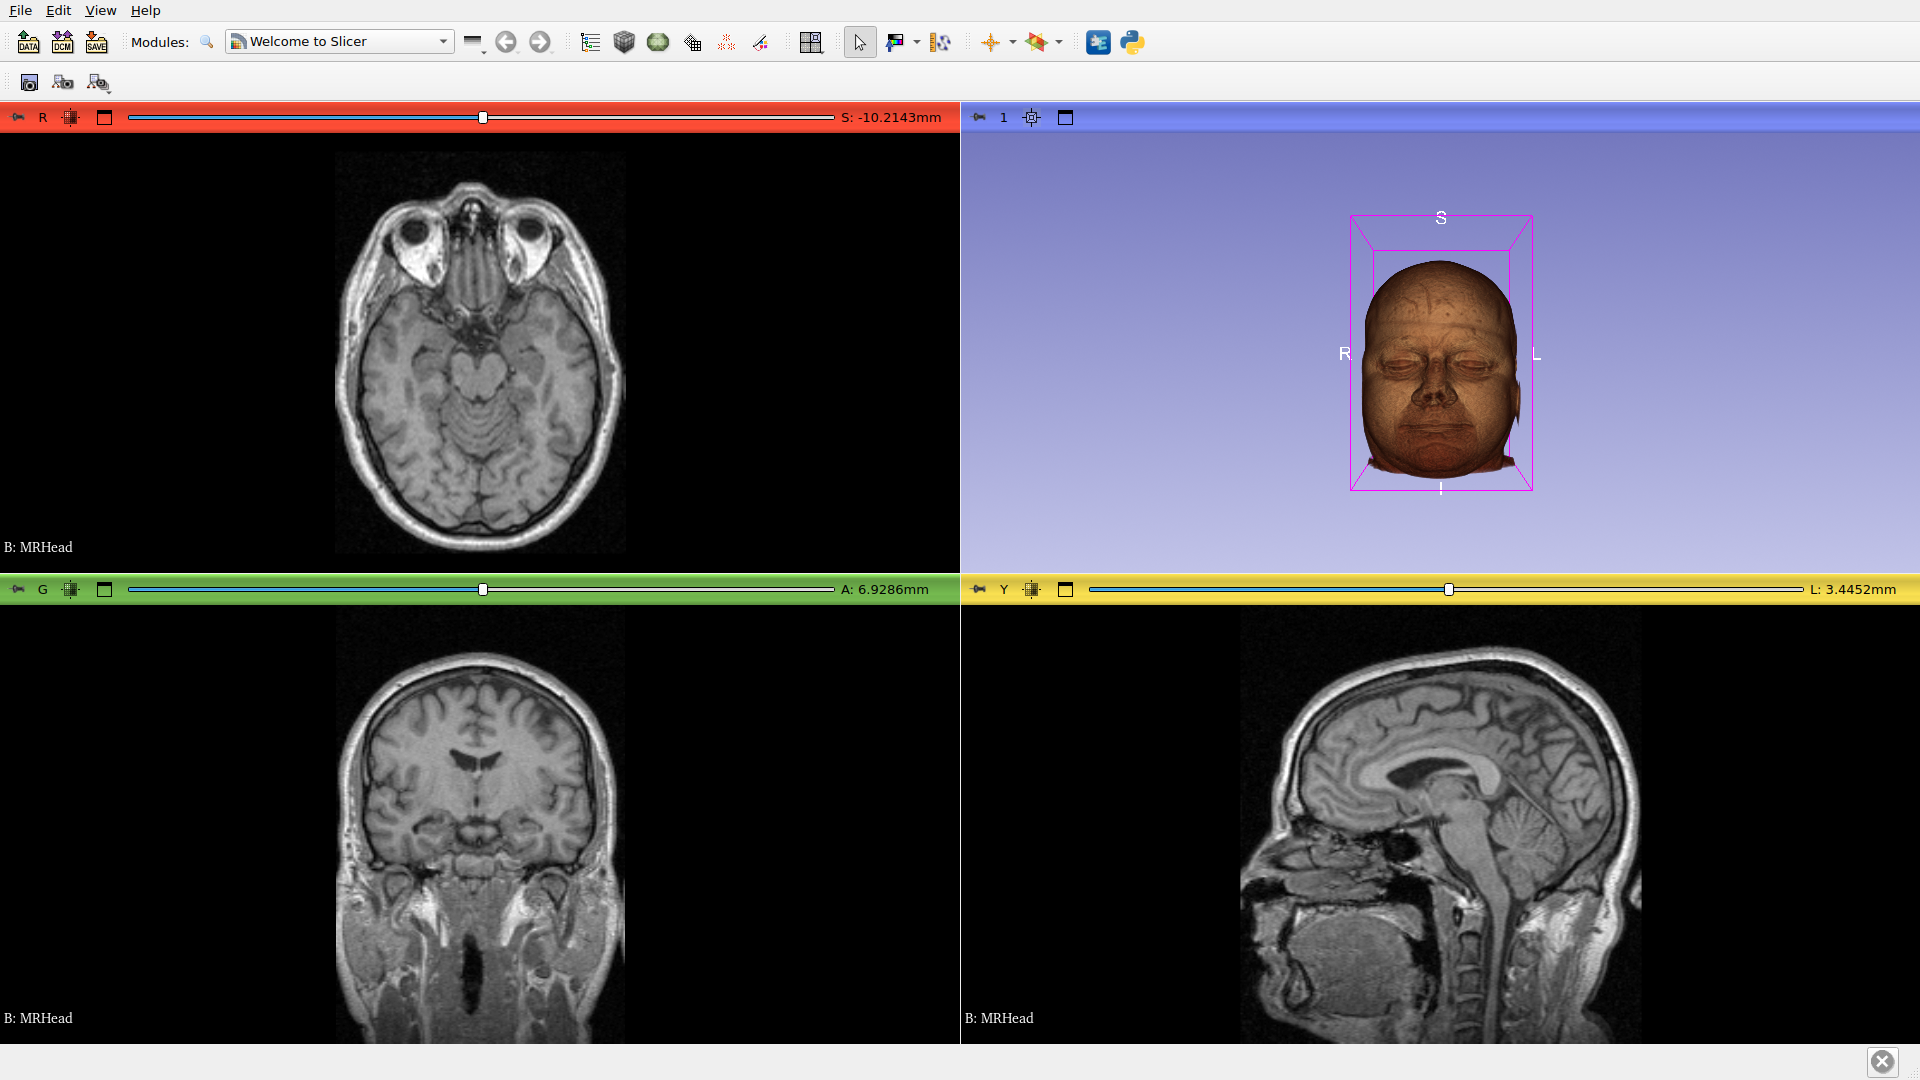
Loaded volume: MRHead
Step 2: Open MouseMaster
Navigate to Modules > Utilities > MouseMaster.

Step 3: Select Mouse
Choose your mouse model from the dropdown. We’ll use the Logitech MX Master 3S.

Selected mouse: Logitech MX Master 3S
Step 4: Select Preset
Choose a preset configuration for your workflow.
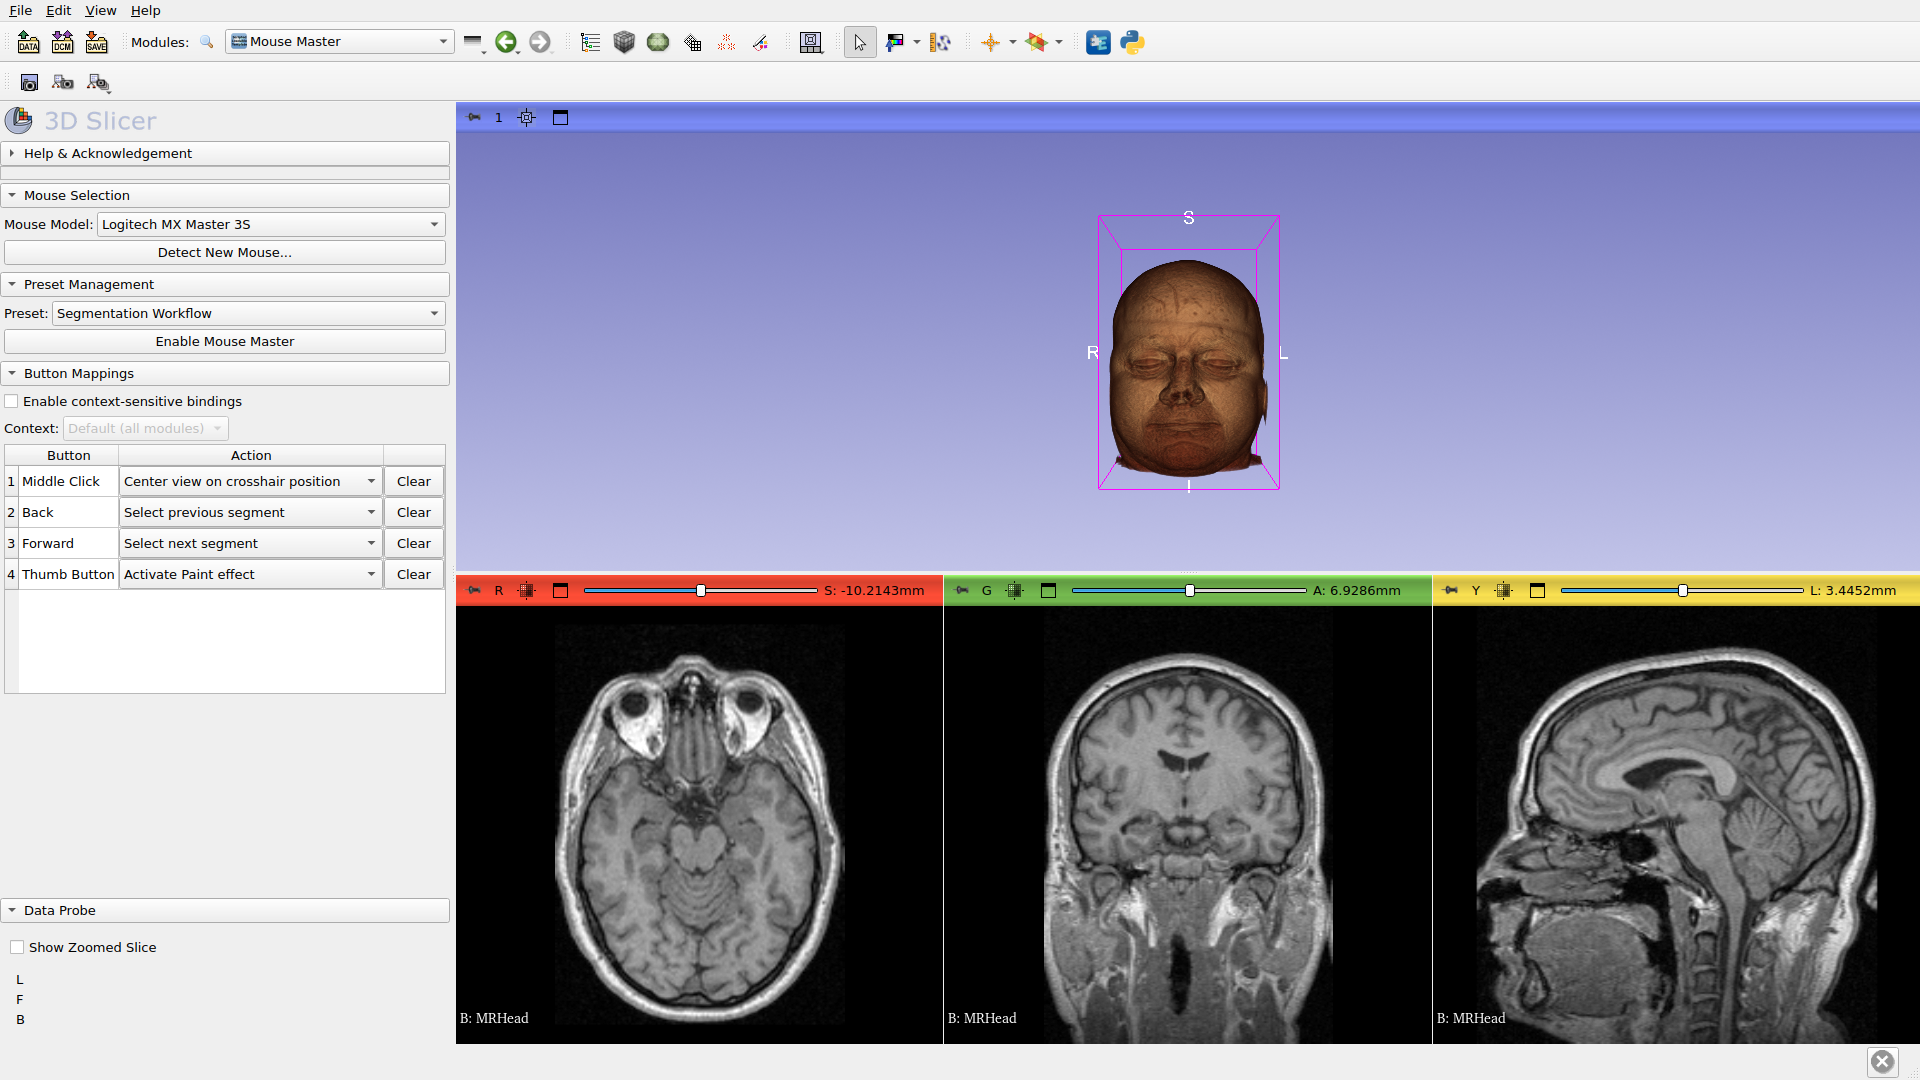
Applied preset: Segmentation Workflow
Step 5: Review Button Mappings
Review the button mappings for your mouse. The MX Master 3S has 4 remappable buttons.

Current button mappings:
Middle Click → Center view on crosshair position
Back → Select previous segment
Forward → Select next segment
Thumb Button → Activate Paint effect
Step 6: Enable MouseMaster
Click Enable Mouse Master to activate button remapping.

MouseMaster status: active
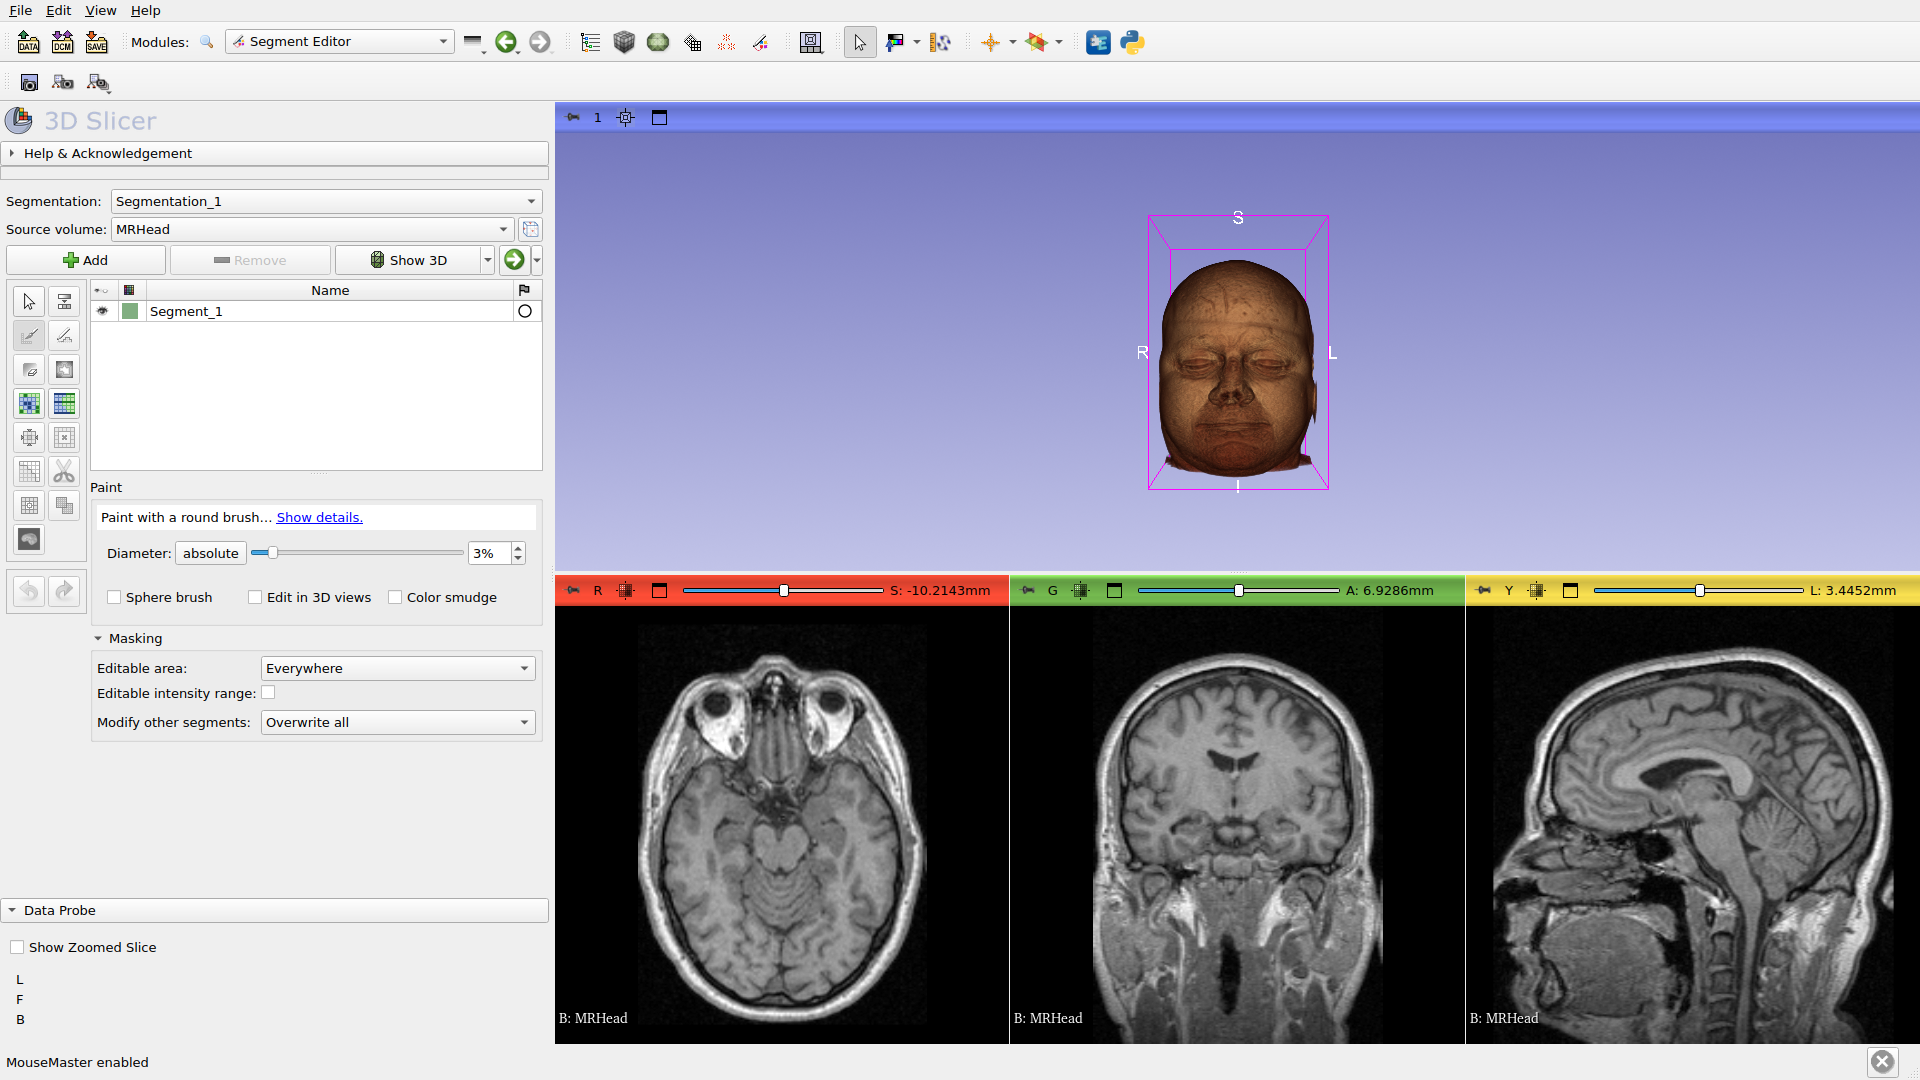
Step 7: Open Segment Editor
Open Segment Editor and create a segment to start painting.

Step 8: Test Your Mappings
Paint on the slice, then press Back button to Undo. Press Forward to Redo.
What’s Next?
Now that you’ve completed the basic workflow:
Button Mapping - Customize your button assignments
Presets - Save and share your configurations
Context-Sensitive Bindings - Create module-specific mappings
Tips
Use Back/Forward buttons for Undo/Redo in any module
Create module-specific bindings for Segment Editor effects
Export your presets to share with colleagues
This tutorial was auto-generated on 2026-02-04. Screenshots reflect the current UI.