Button Mapping
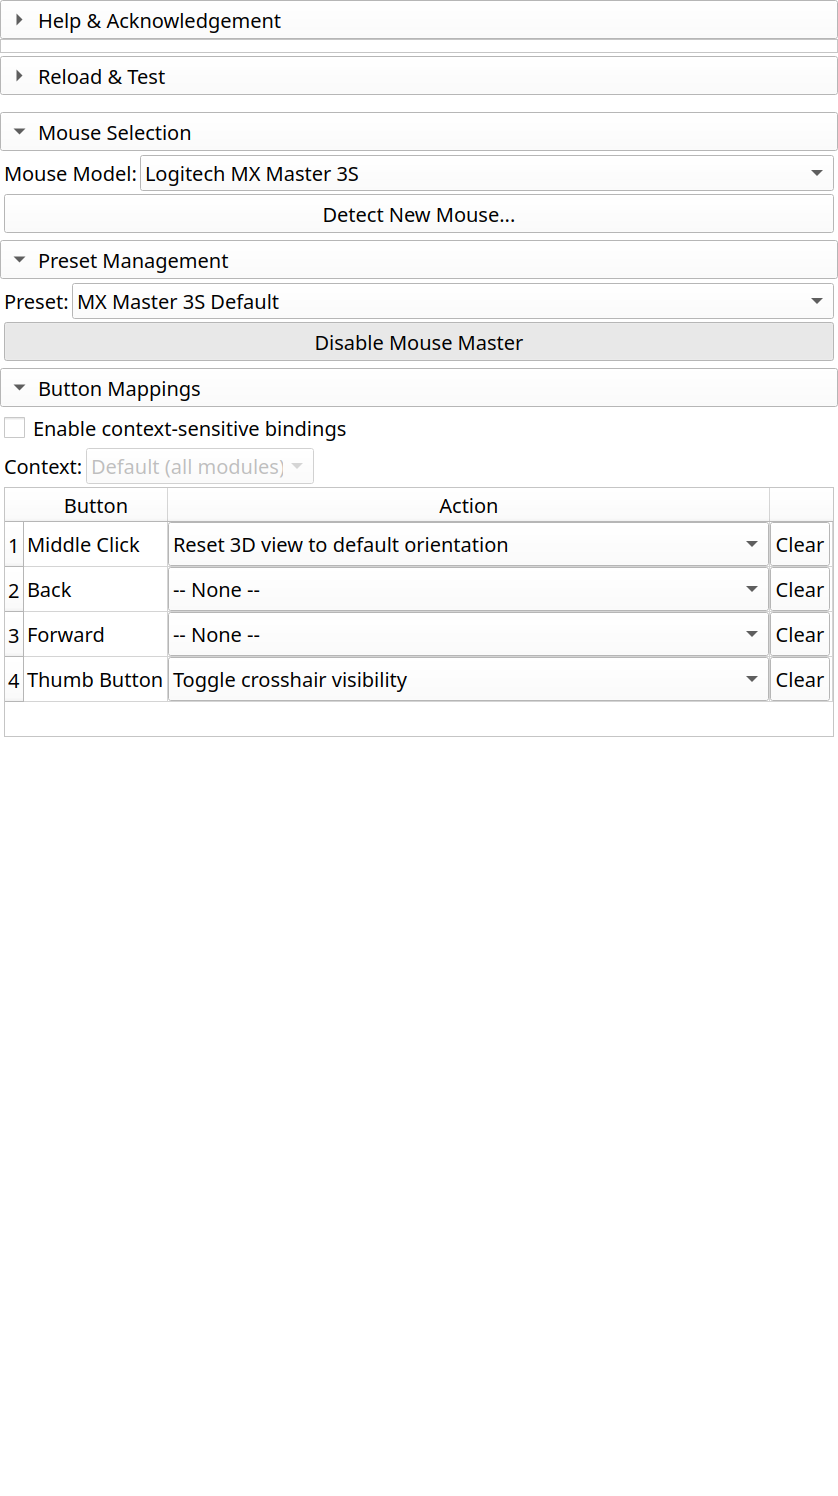
The button mapping table is where you assign actions to your mouse buttons.
Understanding the Interface
The mapping table shows:
Button: The physical button on your mouse
Qt Code: The internal button identifier (for debugging)
Action: The currently assigned action
Remappable: Whether this button can be customized
Available Actions
Navigation:
Reset 3D View
Zoom In / Zoom Out
Pan View
Rotate View
Editing:
Undo / Redo
Delete Selected
Toggle Crosshair
Segment Editor:
Next/Previous Segment
Toggle Effect (Paint/Erase)
Apply Effect
Show/Hide Segment
Custom:
Run Python command
Trigger menu action
Keyboard shortcut
Default Bindings
For MX Master 3S/4:
Button |
Default Action |
Segment Editor Override |
|---|---|---|
Back |
Undo |
Previous Segment |
Forward |
Redo |
Next Segment |
Thumb |
Toggle Crosshair |
Toggle Paint/Erase |
Middle Click |
Reset 3D View |
(No override) |
See Also
Presets - Save your button configurations
Context-Sensitive Bindings - Different mappings per module
Available Actions - Complete action reference